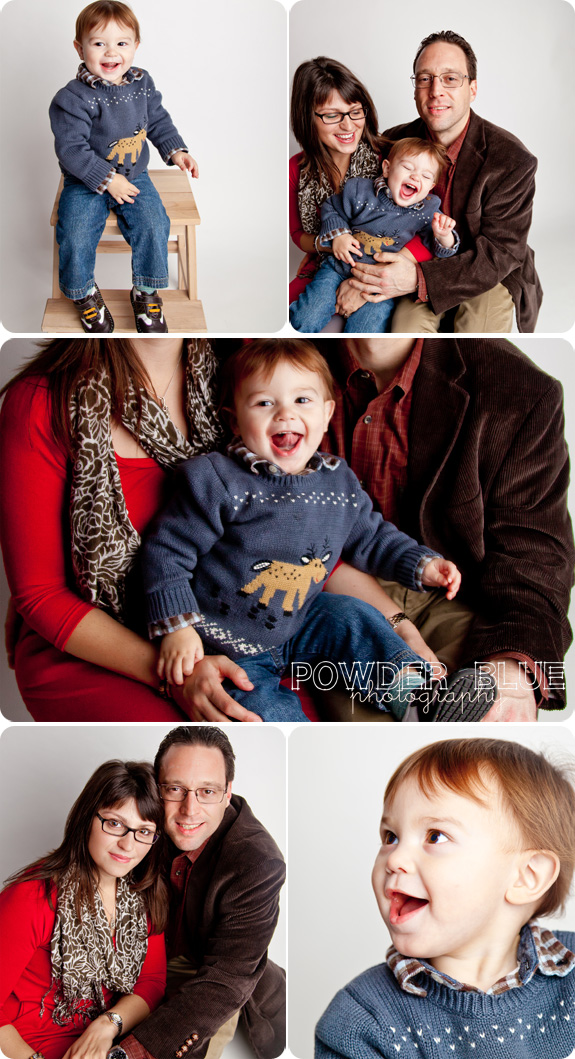
Chelsea, James, & 1 1/2-year-old Jay came to the studio looking posh and fantastic for a holiday family portrait.
At 17 months, Jay is a little wild man and has given me another glimpse of what’s in store for me with Jonah in a few short months! When photographing energetic toddlers, the best tactic is to find something that engages them and go with it rather than trying to get them to sit still because that is not likely to happen with these guys unless they’re asleep! Could be ticking, peekaboo, or me acting, uh… zany (stupid) that does it, you just never know. For this little guy, it was throwing things and/or keep-away! For whatever reason, we got mega smiles every time I hid something from this cutie.
For these photos I used a singular XL softbox on the right and a huge reflector on the left, and I very much like the large, soft light from the softbox, especially on the portraits of James & Chelsea. I just got a 430 EX II slave earlier today (at Best Buy, where there were 10 people already waiting for Black Friday savings… the thought occurs to me that waiting 2 days in the rain is maybe just a little excessive?!) to complement my 580 EX II, so I think I’m going to start using a lightweight wireless Speedlite setup in the studio more often as well as on location. It’s so much more portable and flexible than the strobes, and it seems to have all the power I need in there, so I’m going to invest in some more flash modifiers (beauty dish, strip light, octobox, Rogue grid?) and do some test shooting over the next month or so. I already did a few test shots on Jeremy & Jonah, and I love them! I have learned so much from this book, highly recommended for anyone looking to learn more about Speedliting.

